Step-by-Step Installation Guide for Barrel Air Cleaners: DIY Edition
Key Takeaways:
- Installing barrel air cleaners can improve engine performance and efficiency.
- Essential tools include a variety of screwdrivers, wrenches, and potentially a carburetor adapter.
- A successful DIY installation requires careful preparation and attention to detail.
Table of Contents:
- Choosing the Right Barrel Air Cleaner
- Gathering Essential Tools for Installation
- Removing the Old Air Cleaner
- Installing the Barrel Air Cleaner
- Finalizing the Installation
Choosing the Right Barrel Air Cleaner
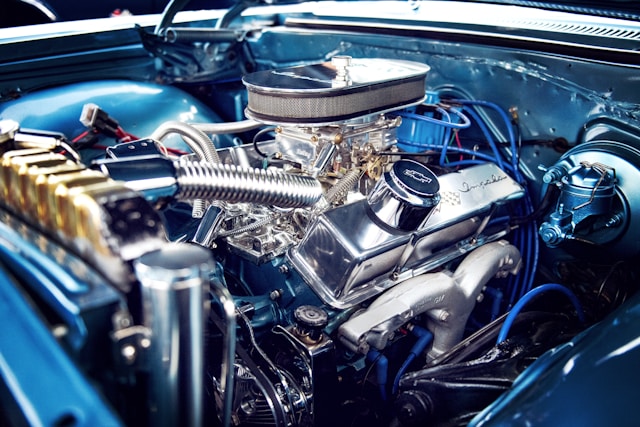
Barrel air cleaners are critical in any car enthusiast’s quest for optimal engine performance. These cylindrical devices are engineered to replace your vehicle’s existing air filter housing with a streamlined unit designed for maximum airflow and enhanced filtration. Choosing the right cleaner involves considering the specific dimensions of your engine’s intake and the driving you typically engage in. Selecting a unit that will fit without obstructing any other engine components is important.
Gathering Essential Tools for Installation
Before you begin the installation process, ensure you have all the necessary tools on hand. You’ll usually require a standard screwdriver, a set of wrenches, a carburetor adapter if your model requires it, and perhaps even a new gasket if the cleaner doesn’t come with one. A socket set might also be handy, as some air cleaner models use bolts for secure attachment. You should consult the specific instructions for the barrel air cleaner you purchased for any special tool requirements.
Removing the Old Air Cleaner
With the correct tools and new cleaner ready, remove the existing unit by first ensuring the engine is switched off and cooled down. Most stock air cleaners are held in place by a wing nut and other connectors, which can be removed using your hands or a wrench. It’s important to carefully remove these parts carefully, keeping them handy in case you need them for the new installation.
Installing the Barrel Air Cleaner
Start by cleaning the surface around the carburetor to create a clean environment for the new air cleaner. If required, place the gasket down first for a snug fit and to prevent air leaks. Position the barrel air cleaner over the carburetor and secure it with the accompanying hardware. Be careful not to over-tighten, as this could damage the cleaner and the carburetor.
Finalizing the Installation
After installation:
- Inspect the area around the new cleaner for any gaps that could let in unfiltered air. If your new cleaner requires additional support brackets, install them according to the manufacturer’s directions.
- Once everything is secured, start the engine and listen for unusual noises that might indicate a problem.
- Assuming everything sounds good, take your vehicle for a test drive to ensure that the installation has improved the aesthetic and your engine’s performance.